Hallowbaloo 2013
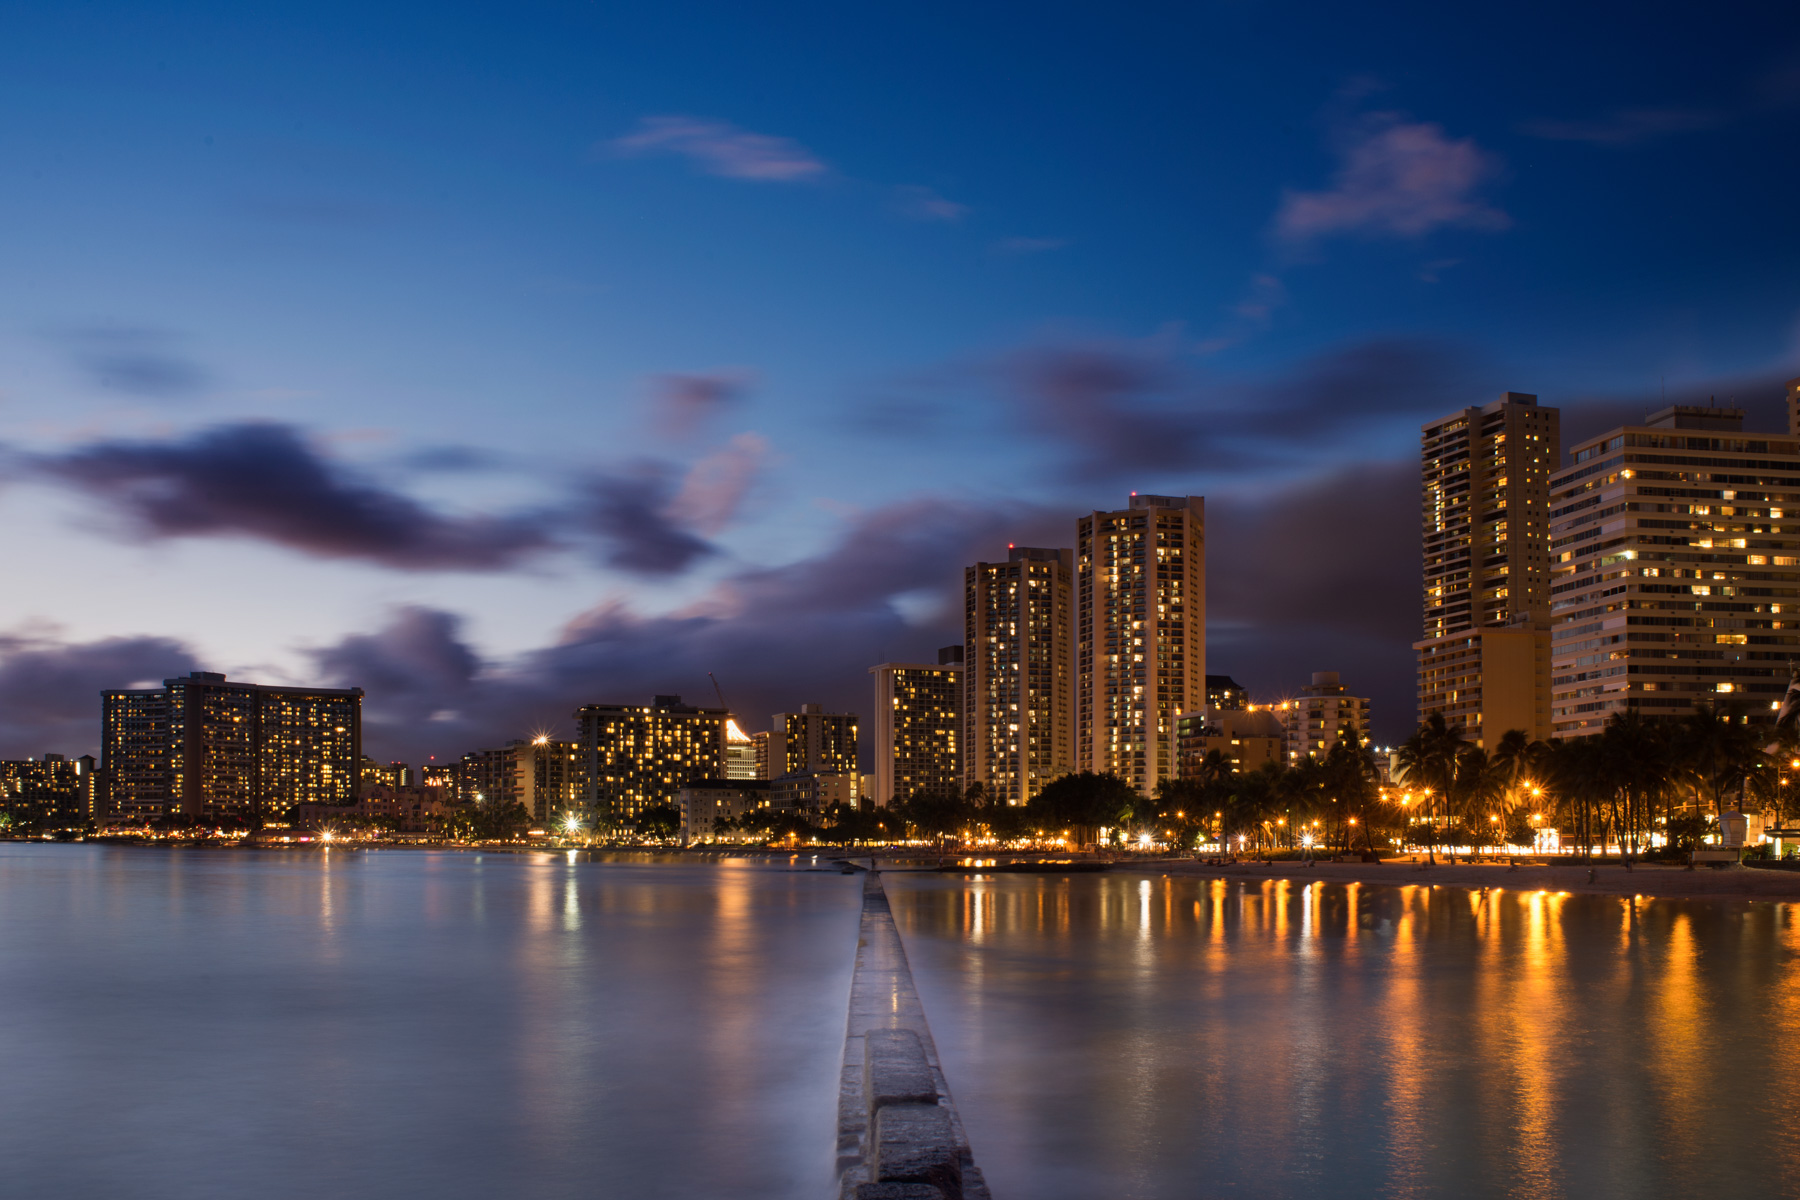
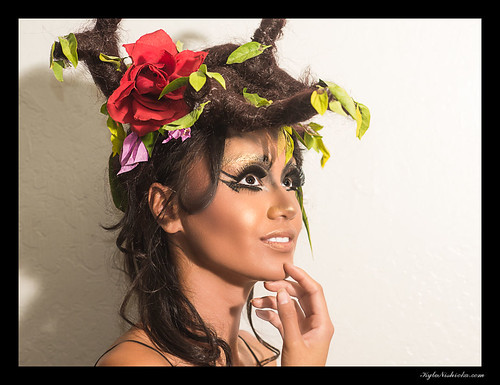
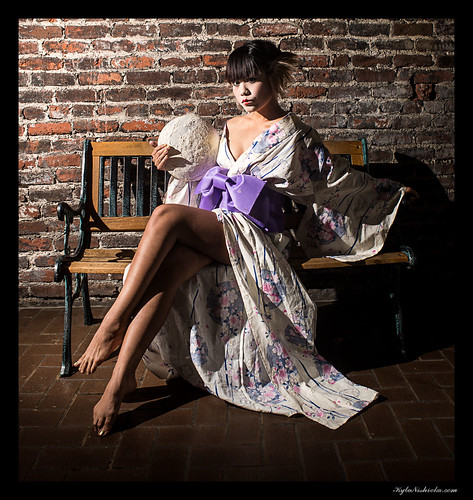
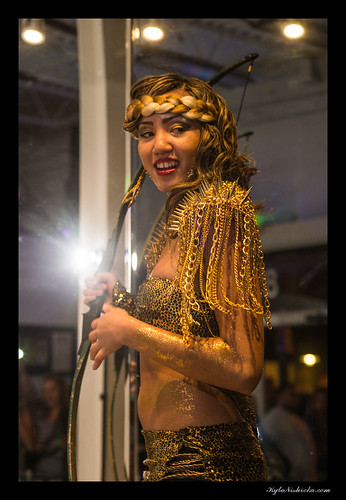
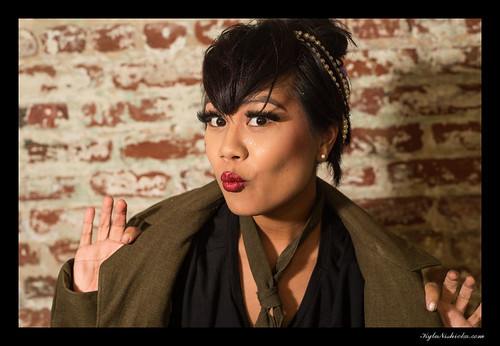
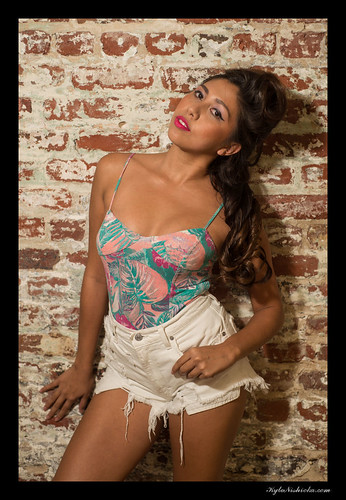
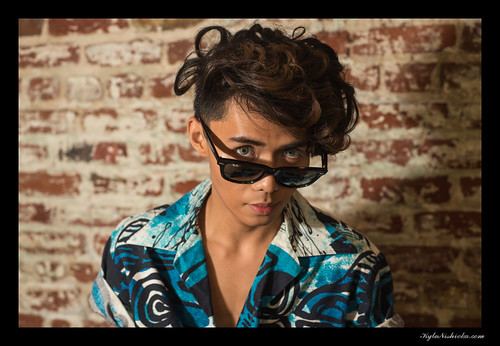
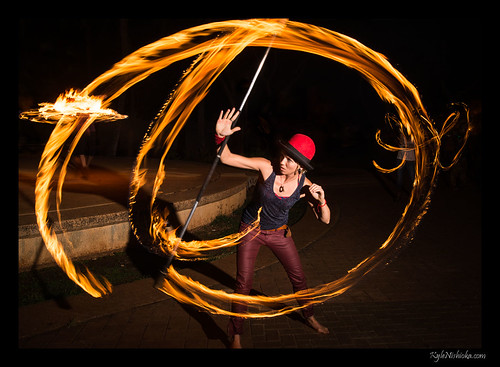
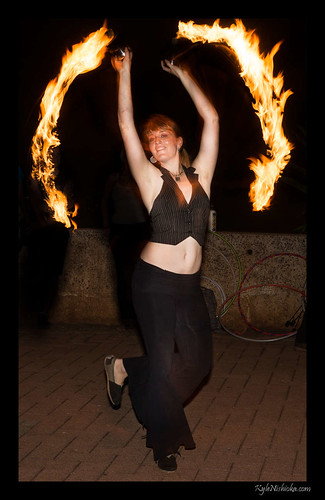
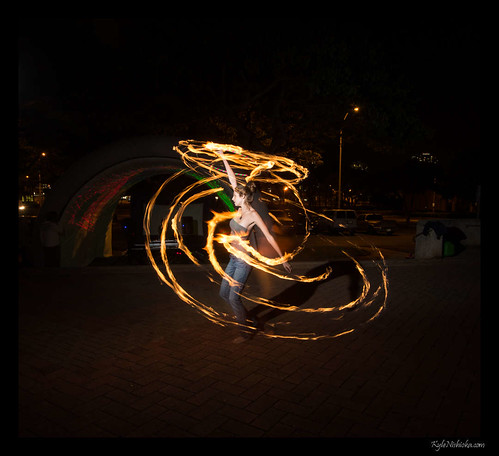
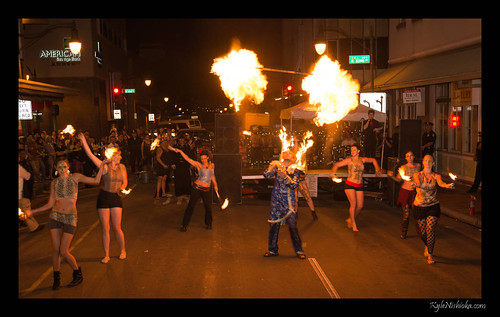
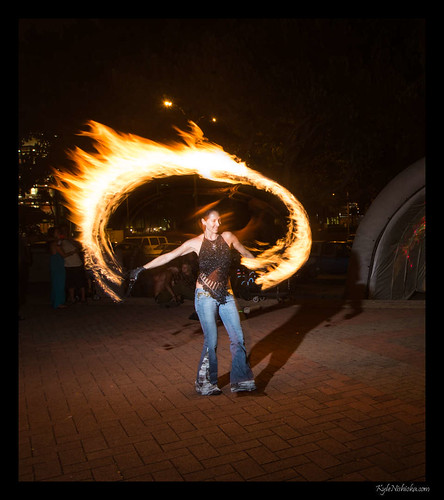
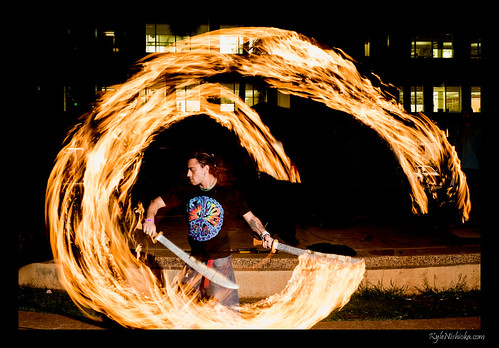
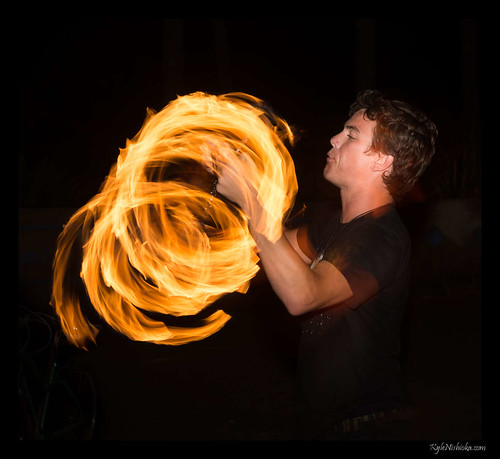
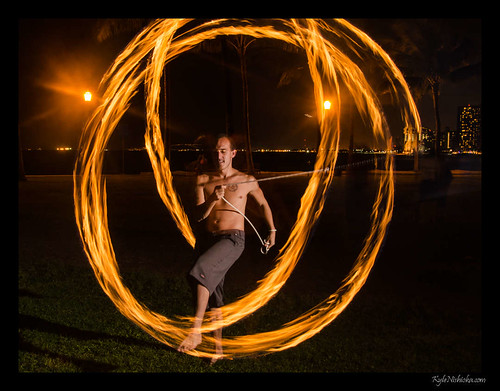
Luckily this year there was no tsunami threat nor any rain to spoil the annual Halloween block party in Chinatown. The weather was, however, muggy and hot.
Hallowbaloo 2013 photo set on Flickr. If you got one of my cards and want to get the high res photos, please email me or send me a message through my contact page.
First Friday – September 2013
First Friday – August 2013
Ala Moana 4th of July Fireworks 2013
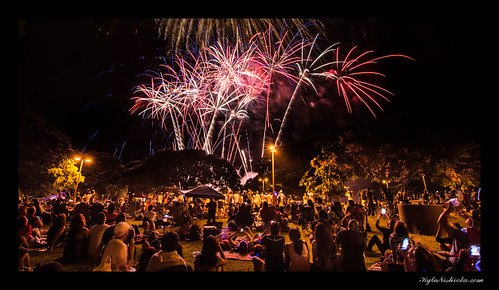
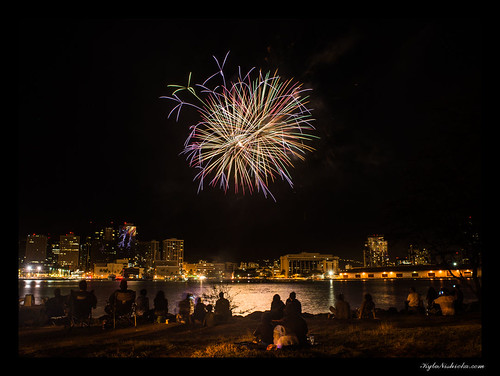
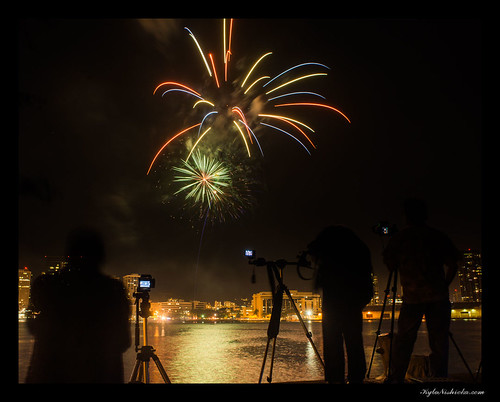
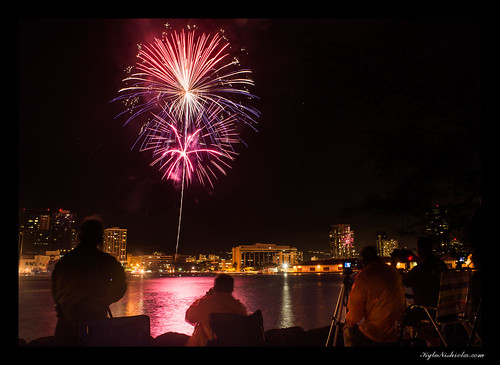
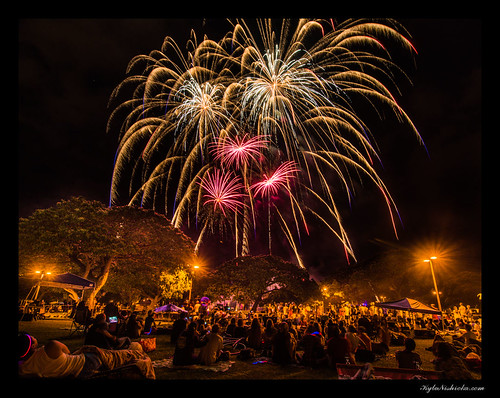
There were a lot of spectacular fireworks last night at Ala Moana. And, practically every square foot of grass in the park was taken by fireworks watchers. A lovely night, not a drop of rain all evening. This is paradise.
And this photo below is the weirdest fireworks shot I’ve ever taken. It really looks like a face doesn’t it?
Aloha Tower Fireworks 2013
Lantern Floating Ceremony 2013
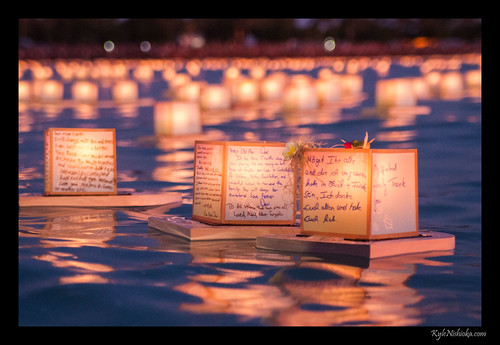
This year’s Lantern Floating had an amazing sunset to set the perfect backdrop for the lanterns. The feeling when I was in the water was very surreal as the glow of the sunset reflected off of the water while the lanterns floated away from shore.
Photographing Fire Dancers – Part 3
Continuing from Photographing Fire Dancers – Part 1 and
Photographing Fire Dancing – Part 2.
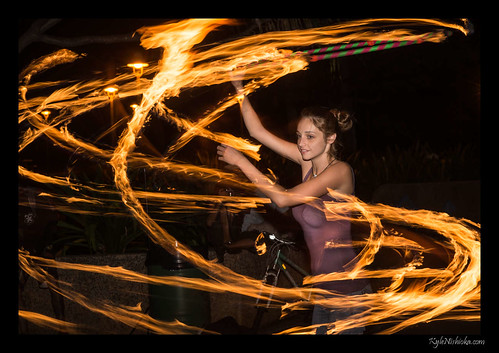
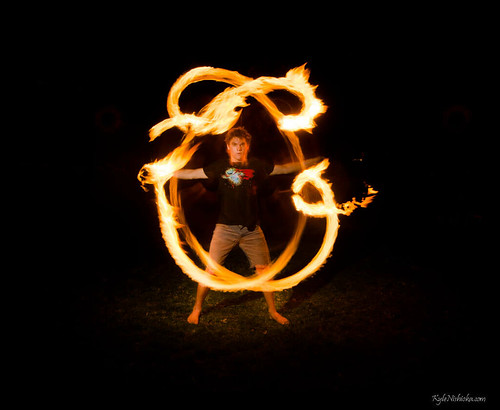
Once you’ve got the basics of taking a long exposure of the fire trail, you just need a few tricks to make the picture really shine.
- Set your shutter speed to bulb mode and set your flash to rear curtain sync. Generally, you will not know ahead of time how long the shutter needs to be open to make your photo. It could be 1/4 of a second or several seconds. The only way I’ve gotten the photo to capture the face of performer is by using bulb mode and manually opening and closing the shutter.
- Rear curtain sync will fire the flash just before the shutter closes and will make the fire trails appear to follow the performer. Front, or first curtain, sync will make the fire trails appear ahead of the performer. The flash should also be timed to freeze the image of the performer at the end of a move.
- Take the flash off of your camera. Angle the light to fall on the performer from above and to the side. This will illuminate the performer while not lighting up the background directly behind the performer. The fire trails will stand out more prominently against a dark background.
- When you shoot in bulb mode, take your eye away from the viewfinder, you will not be able to see through the viewfinder anyway while the shutter is open. You should get into the habit of composing your photo and then moving aside to see the action so that you can release and close the shutter at just the right moments.
- Radio triggers work the best for synchronizing the flash with your camera since cables are just not practical in this situation. Nikon CLS (and presumably Canon’s IR based trigger or old fashioned optical slave triggers) will work if you set it up properly. But, the IR sensor on the flash must be pointed towards the camera or master flash. The CLS commander’s signal is usually too weak to bounce off of the subject and trigger the slaved flash. Radio triggers, however, have no problem in this situation.
- Learn to pre-focus on either the hyperfocal distance or on infinity. Your aperture will be small (f/8 – f/16) anyway because of the fire trails. You may as well lock in the focus to a known, good distance. It is usually really difficult for auto-focus to lock on to anything when the fire dancers are spinning.
- Watch for a big burn off move at the start of a performer’s routine. Performers will do a big opening move both to impress the crowd and to safely burn off the excess fuel on their prop. This practice is very popular with the staff and poi balls. Staff performers will usually roll the staff while tossing it in mid-air to let centrifugal force squeeze the excess fuel out of the wick. Poi balls will often be dragged on the ground to smear fuel or whipped in circles low to the ground. These burn off moves are much brighter than the rest of their routine and you need to stop down as tight as you can to avoid blowing out the highlights. Some fuels will simply burn too brightly to be photographed and you may have to wait for the fire to burn down to a more tolerable level.
- Yes, you will get splashed with fuel at some point if you want to get good photos. It usually evaporates quickly and should not be too hazardous unless it gets in your eyes. Try to stay back until after the burn off move.
- Ghosting is a big issue if you want a clean portrait of the performer. Often you will just have to wait until the fire burns down a bit. But if you wait too long, the fire trail will be too faint to show up on your photos. It’s a delicate balance and you should expect to adjust your aperture on the fly to match the brightness of the fire. As the fuel burns down the fire gets weaker, but when the fire spins quickly the flames get bigger.
- Expect to do a fair amount of cleanup work in post to remove ghosting and smeared images. If the fire casts enough light to reflect off of the skin or clothing of the performer, ghosting will occur. That’s why you should stop down the aperture to f/8 – f/16. The ghosting is not so bad if you can limit the amount of reflected light entering your camera. But some dodging and spot healing will probably be necessary even on the relatively clean shots.
Photographing Fire Dancers – Part 2
Following up on the basic tips from Part 1, the tricks to making fire photographs involve a fair amount of knowledge of fire dancing itself.
Starting with safety, you the photographer have to be aware of how close you can get to the performers. Professional fire artists will mark their performance area with a Do Not Cross line that is usually a strip of warning tape or a row of traffic cones. Then there is another restricted area where they keep their fuel and do all of their preparations. If there’s no security people watching the crowd, you have to be aware of these boundaries because the fire safety staff are watching the performers waiting to intercept that stray fireball from hitting the either the fuel or the public. When you get too close…and you will…just back away and reset for the next shot.
It also helps to know what kind of fuel the performers are working with because that will affect your exposure settings. The most common fuel is “white gas” or Coleman’s camping fuel. It is very bright, burns without much smoke, and makes the usual yellow-orange fire you expect to see from a camp fire. Less common is lamp oil, which also burns pretty brightly, but makes a lot more smoke and burns longer than white gas does. And even less common is any high-proof alcohol solution. Alcohol burns less brightly compared to white gas and burns out quicker too. I hear burners joke about using unleaded gasoline in the “old days” but I don’t really expect to see anyone use that anymore.
Next you should learn what props or tools the artists use. Here are the ones I see most often:
- Poi Balls. Fire spinning uses wicks on the end of a chain. The lengths of rope / chain are fairly short, about 2′ or less. Spinning poi is mostly close to the body of the artist and the glow from the fire will cause ghosting in your image. Poi spinners will often spin the poi right across or in front of their face. In a long exposure, if the fire crosses in front of the face of the performer the image in almost certainly unusable. The fire is too bright and obscures the face. I often stand to the side of the performer to get a clear shot of their face and the fire. But if you want to get a cool shot of the fire trail, you have to stand directly in front of the performer and just hope that the performer’s face will be in a clear spot when you trigger the flash.
- Rope Dart. A wick on the end of a rope of varying length. The artist whips the wick around a lot and makes the biggest patterns I’ve seen. There’s often a lot of space within the pattern to get a clean photo of the artist. Of all the tools, the rope dart is the one I think should look best on video. The fire trails captured in a long exposure do not the artist justice since most of their performance will not be captured by the still image.
- Staff. Sometimes one big staff or two smaller batons. Wicks at both ends of the staff or baton. Fire artists love to throw these staffs and catch them in the air. The wicks on staffs are also one of the largest found on any tools and artists like to spin these staffs faster than the typical poi ball or hula hoop. Consequently the fire coming from a staff will be brighter than pretty much anything else. You may want to stop down to the smallest aperture of your lens when the staff spinner first comes on stage.
- Hoop. With four or six wicks on the hoop, these hula hoops are the most eye-catching of the fire artists’ tools. The hoop artist is rather difficult to photograph. The fire obscures the artist so easily that the good photos of fire hooping tend to have shorter trails and shorter exposures.
- Fire Fingers. Long dowels with wicks at the tips. Looks a bit like Freddy Krueger’s hardware but less menacing…until they are lit up. They really are extensions of the artist’s hands and the patterns they make are like painted brush strokes. Anticipate when the artist will draw something and the camera becomes the canvas.
That’s enough for now. Next time I’ll go into how to make the photo.
Bytemarks Lunch at the Pacific Aviation Museum
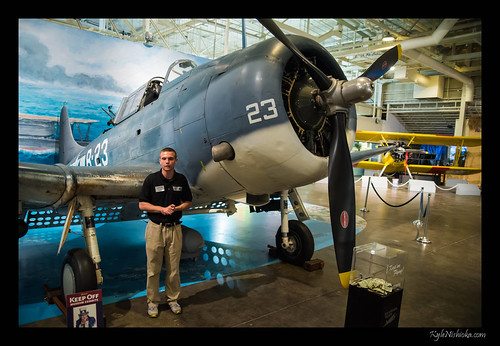
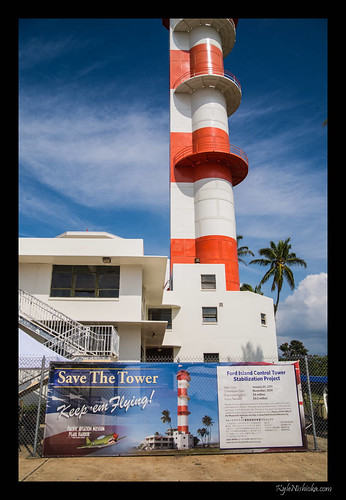
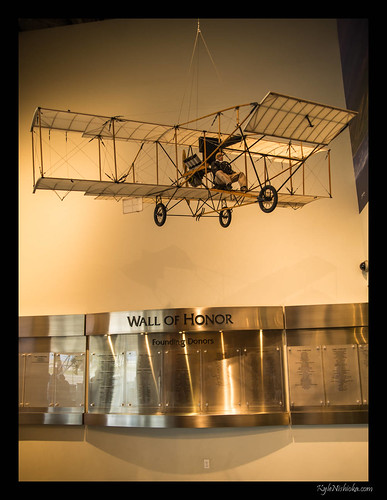
The fine folks at the Pacific Aviation Museum treated the Bytemarks gang to a lunch and tour of their Ford Island Control Tower as well as the aircraft museum. The Control Tower was used in certain scenes in the movie Pearl Harbor to recreate the attack on December 7th, 1941. The tower itself is a real historic building from World War II and is in the middle of an ongoing restoration effort.
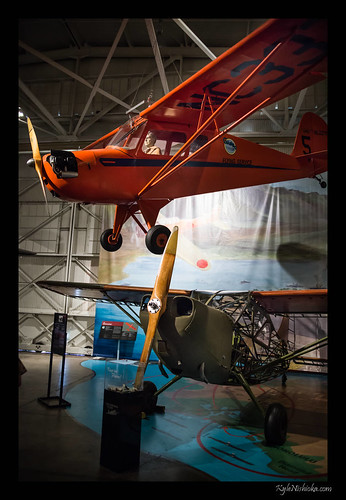
The aircraft in the museum are the real gems of the place. If you happen to be an aviation geek or history buff, I can guarantee that you will not want to pass up a trip to this slice of American history.
Full photo set on Flickr.
